Saturday 19 November 2022

Rock Tumbler step 1

 so i got my new rock tumbler!  and i've been tumbling rocks..  tumble tumble tumble.

it's a national geographic tumbler which i guess runs rather fast which could be good or bad.  i guess i'm gonna have to see how it all works out in the end!

1st run - i used the step 1 packet that came with the tumbler and ran at speed 1 for 4 days.  the first few are rocks from the kit that came with the tumbler and the rest of them are river rocks i have collected.


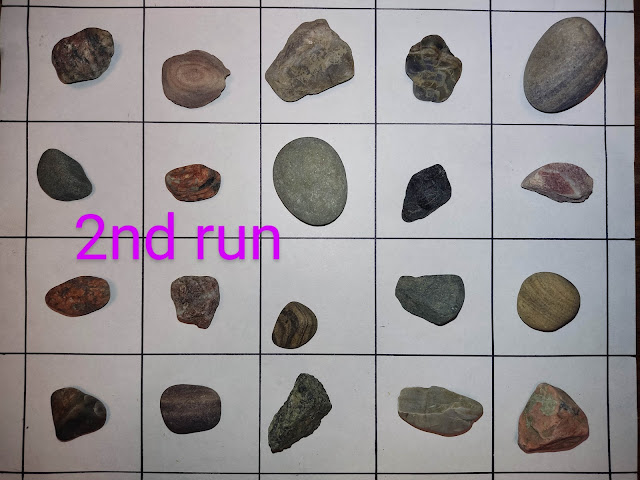
2nd run - none of the rocks were smooth enough but the volume had gone down so i added a few more.   i used 3T of 60/90 grit and ran for 4 days


3rd run. 
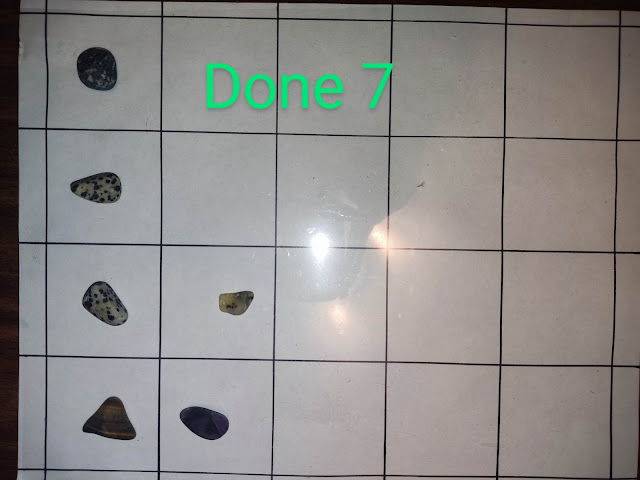
ugh.  i thought i could just rely on the photos for the most part as to the timing and whatnot but i'm getting confused..  it seems like i have photos from the same batch and it shows them on different days which makes no sense?  but well, i dont know..   so i think i took these ones out on this switch..  


and then i put in these ones with 3T of 60-90 for 4 days i think..  


4th run..  so i think i took these ones out 


and then i would have put in these ones in for 3 days i think with 3T of 60-90 


Then i put my ceramic media in with some water and let it run for for 3 days to smooth them out a bit.

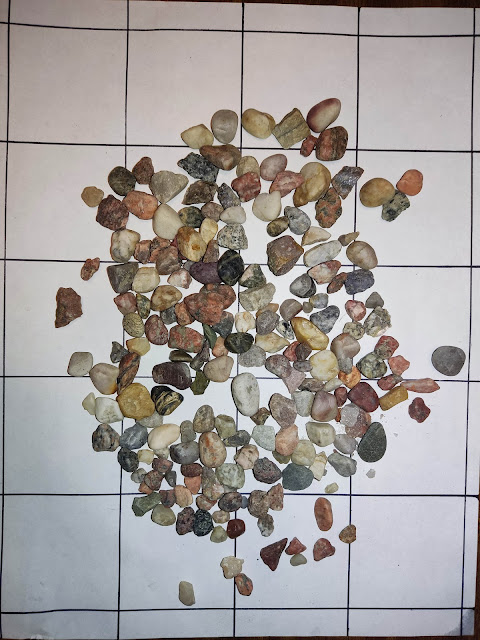
I decided to put it on for one more round filling it with pebbles.  I put it on with 3T of 60-90 for 3 days i think.  the first picture is small pieces from the rocks that came with the kit and the rest are river rocks.


so i guess i didnt tumble them long enough.  i felt to the bottom and thought everything seemed smooth but then after i dumped the rocks there was still some grit on the bottom.   also it was really weird cause all the rocks felt rough.  i am not sure why that happened, perhaps i filled it too full?  or just the pebbles made it work differently?  they were all rough feeling so i only took out a couple to use and put the rest aside to use later.  


Friday 7 April 2017

first ecodye's of 2017 results!

so i opened up my first ecodyes of this year the other day!  they had been sitting out on my front steps for what seemed like quite awhile?  i let them pretty much dry out completely anyway!  they felt completely dried out and when i opened them up they were only slightly damp in the very center.  i think they turned out pretty good!
so, have a look!


2017-01 -the one on the left, i used leaves from the fall that i had saved in the freezer.  both had been simmered in water that pine needled had been previously simmered/soaked in.


so then this is what it looked like closer up from right to left..


the leaves used were some kinda maple, red oak, some kind of crab apple & mountain ash.  the maple left some green colours which i found kinda interesting!  the crab apple was more brownish and i have found crab apples to be more purpleish in the past..  the mountain ash did ok..  but i dont know, i have only used red oak a few times because there are not many around here, but i have not had much luck with them.  burr oak are a lot more common and i have always had really good results with those leaves..  it's too bad, cause i really like the shape of the red oak leaves!
anyway..  this is what it looked like on the back..


2017-02 -this one was a pine experiment!  the pine needles were simmered for 10min or so the night before then left to soak overnight, then i let them soak in some iron mordant for a little bit, just while i prepared the above one, so not that terribly long..  i will have to try another couple experiments with letting it soak longer, and then one without iron at all and see how that does..


a closer view from right to left..


i guess it's not really close enough to see the detail too well is it?  oh well..  i like the way it turned out anyway!  i am really interested in seeing how it looks after it is washed and ironed though!
this is the back of it..


fun stuff.  there's this fabric sale coming up in a couple weeks at this church.  i went to it last year, we went towards the end and everything was 50% off, there was LOTS of fabric..  a hall full of tables stacked full of it!  and it was cheap!  they had small pieces, under a meter, and big pieces 5 or more meters long..  all kinds, all colours..  but i got lots of different fabric for dyeing last year and i hope to again this year!  i also wanna make a patchwork quilt of some sort, so i want to get small pieces of fabric for that.  i want to make a colourful one and i want to make a dyed one..  so lots of stuff to work on i suppose.  anyway.. off on a tangent there i suppose.  not much as far as plant life out there yet.

Thursday 30 March 2017

my ugly chair - part 2

so, reupholstering my chair..
i am taking it apart, it is not as easy at it sounds..  so so so soooooo many staples!  i got the bottom and the back done in part 1.. and now..  now i dont know what the hell i'm doing!
this is what the back looked like..


midway up there were these large staples..  and the fabric is folded like this, which is probably good to know when putting it back together i think.. 


So, the front has these buttons in it..


on the back it looks like this..


a closer view of the back of one of the buttons..


it's the button threaded through a thick string that goes through the fabric, but is tied around a little bundle of this cottony stuff.  ..i suppose i dont necissarily need to put the buttons back on, depends on how i want it to look.. we'll see.

ok!  ugh.  i kinda screwed up..   i havent worked on the chair for a looooong time.  i've been busy moving and that's fine.  i mean, i'm sure i can figure this all out and stuff.  (i hope!)  & i have all these pictures i've taken..  but they're kinda confusing!  just a whole lot of pictures of random weird plaid in various contorted positions and it's hard to see what's going on when i dont remember what i'm doing!  ugh ugh ugh.

 i will try to figure out the rest of the steps later..  
i think there were some confusing parts getting the front off?  well..  we shall see if i can figure out the pictures.. 

ecodye firsts!~ [first of 2017, first at new place, first.. um.. new technique!]

i am fairly settled in my new place..  more or less..  and i have my new little kitchen area in the basement all set up for dye stuff! (as well as any other art/craft/experiment/messy things!)  so now that things are not so hectic, and everything is not seeming so overwhelming, i have been having some bouts of inspiration!  also, the warmer weather and the impending spring, along with the new set up downstairs has made me a little excited about dyeing!
last summer/fall just was not good for me, so i didnt do much and winter is a dry spell along with the move, so it's been a long time since i have been able to have strange pots of experimental concoctions bubbling over on my stove, and i miss that!
i have not read a lot online about different ecodye/bundle dye/whatever dye techniques..  but i did see someone's blog, and i would post a link if i could remember it, if i find it again i will..  that explained her technique of simmering.  she had amazing looking fabrics done with big sprigs of cosmos!
normally i do my own "mordant mix" technique that i have come up with, that so far seems to work..   (i mean, i have some stuff that i made into pillows for christmas gifts in 2015 that are still good, and that's as far back as i've been making things) but most of the times i have seen anything mentioned online about cotton people have just talked about using alum.  so for these that's what i used, some alum mordanted cloth!
spring still has not sprung, so there is not much out there..  but there are pine trees!  on a walk down by the river i picked a small selection of a variety of different pine needles, at least 3 or 4 different varieties, though i am not sure which ones..   i simmered them gently in a pot of water for 10min or so..  and then turned off the heat and left them in there overnight..  it might have been longer, it could have been 2 nights, i dont really remember and my sense of time is a bit wonky.   then i took them out and put them to soak in some iron solution for a little bit.  i was just going to reserve the pine water, i thought maybe that i could use it to make cleaner or something, but when i poured it out of the pot i noticed that it was quite a dark colour, so i thought hey!  i'll use this to simmer the bundles in!
last fall i had gathered leaves, but then i just wasnt doing well and ended up not being able to do anything with them.  i decided to try freezing them in the hopes that maybe i could do something during the winter.  i wasnt sure how well that would work?  but why not!  i layed them flat in ziplock bags and put them like that in the freezer.  So, for the first bundle i did i decided to try using some of the frozen leaves!
there are mountain ash, black oak, some sort of crab apple, and some sort of maple.  after i had put them out, the thawed leaves were very dry, so i poured a whole bunch of water on them.  (i guess that's the issue with freezing leaves, they dry out.  maybe if freeze them in some liquid?  i dont know. )  then bundled it up and tied with a bit of string that had soaked for a few min in some iron solution.
the next one was the pine needles that had been soaking in the iron.
bundled and tied they looked like this...
i simmered them in the pine water for an hour!  they turned SO DARK!  a dark grey!  especially the pine one..  at the half hour point i put a small piece of alum mordanted fabric in there just to get a sample of the colour, cause i am assuming it's the pine & some iron mordant, maybe with the alum? that makes a grey dye?  i dont know..  i'm gonna have to do some experiments!
i forgot to take a picture of them though.  oops.
after an hour i just turned off the heat and left them in there overnight.  then i took them out, squeezed out the excess liquid and took them and put them on my front steps to dry out.  the pine one has kept its grey, but the leaf one is lightening up with a bit of more redish tinge to it..  i'm not sure how long it will take for them to dry out?  alas.
i think i will create a new number system for labeling my stuff this year..  in 2015 i did excellent notes and labeled everything.  last year i sucked and kept crappy notes and have things that are not labeled at all.. some things i know what they are, some i forget, some things have some sort of scribbled note pinned to them.. it's a mess.  this year i think i will try to be a bit more organized...  so i think these will be 2017-01 and 2017-02!
anyway..  enough blabbering.  i will remember to post the results later.  yay!~

Tuesday 29 November 2016

my ugly chair - part 1

so!  according to little mr. internet, reupholstering a chair is easy!  all you gotta do is take it apart, use the fabric pieces as a pattern and put it back together!  ta-da!  well, what it didnt tell me was taking the damn thing apart is HARD!
i've got this ugly chair, and i thought, hey, let's give this a try!  now, i dont know if it's always this hard?  maybe the chair i have is just well put together?  maybe the person who did it was super duper excited about using a staple gun or something and went a little wacky?  i dont know?  but it aint easy.  those things are in there deep, and there are a whole whole lot of them..  LOTS!!!
at first i just tried to pry them out with various.. tools?  i think i tried a knife and some needle nose pliers, but the knife wouldnt get right in there so i got out a little bitty screwdriver and tried that out..  but then i broke that!  so ack!!!   i had to go out and buy an actual staple remover tool, but even with that it's difficult.
i have been working away at it though, and i kinda figured that maybe i should take some pictures and keep track of how i am taking it apart so that i can put it back together properly!  so, hopefully i can at least do that!
so..  this is my ugly chair..


i started on the bottom...


that bottom fabric was already torn and a lot just ripped off, but i still had to remove the staples.  the legs just screwed off, so that was easy enough!


here is a slight example of the excessive amount of staples in this damn thing..  why does it need 5 staples in about an inch or so?  why?  and it's like this all the way around..  that's a hell of a lot of staples!
i took off the back section of fabric as well, it was pretty easy actually.  after the bottom was done i was able to pretty much just pull up a lot of the sides and it was pretty easy to pry up the rest, it looked like this...


this is what the back of the chair looks like once the fabric is removed:

that one spring or whatever is popping up but i was able to fix that easily, it just needed to be re-hooked back into a little ... hook thingy?  
so..  that is the bottom and the back removed anyway.